Basic Operations
- Navigate between groups
Switching to a different group
Switching to view images of another member of the same group
Accessing another member of another group
Creating a new project
 and a new dataset
Moving images to projects and datasets
Renaming projects, datasets and images
Renaming channels
Previewing images with rendering settings
Step-by-Step
Navigate to a different group
- On the right-hand side panel, choose Group Training_2025b
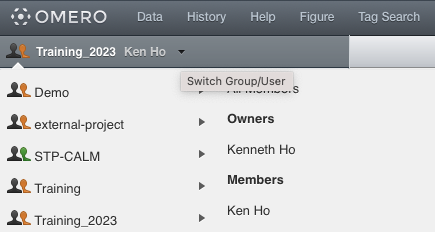
Select Training_2025b and select your name under Member
You should see that the group that you are viewing on the right-hand panel has changed.
Switching to view other member (someone sitting next to you) of Training_2025b
Switching to view one of your colleagues of your Lab-<group>
Accessing project and dataset
Switch to Group Training_2025b and viewing your project, dataset and images
There is a Project named omero_training.
Within project omero_training, you will find a dataset.
Click on the dataset, you should see a set of images underneath it.
In OMERO, names are not unique, instead everything has an ID.
Creating a new project and a new dataset
Switch to Group Training_2025b and viewing your project, dataset and images
- Right-click on your name and a drop-down menu will appear.
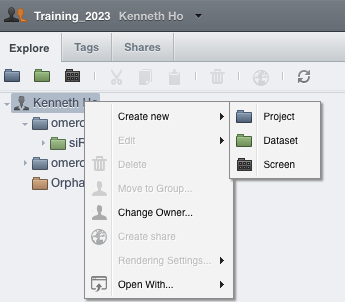
Create a project named “ProjectA” and a dataset with named “dataset1”
Moving images to a different project and dataset
Choose an image from project “omero_training” and move that into dataset1
Choose another image and move it to be under ProjectA
Copying images (i.e. Copy Link)
- Copy Images using the right-click context menu:
Select the Images to be copied, then right-click and click
Edit > Copy Link.Select the Dataset you want to copy the Images to, right-click and click on
Edit > Paste Link.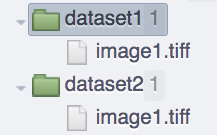
Warning
The Copy Link feature will only create new links
between an Image and a Dataset,
so that one Image becomes linked to multiple Datasets.
This does not create a new independent copy of the Image.
The only way to create a fully
independent copy in OMERO is to use the
Duplicate feature (see below).
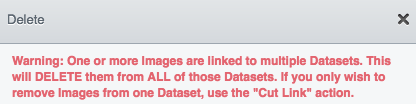
If you delete one of the Datasets, any Images within it that are linked to other Datasets will be retained. Nevertheless, if you directly select and delete an Image that has been copied from another Dataset it will be deleted and lost from both Datasets. There is a clear warning in the OMERO.web when you try to delete such a doubly linked Image, see screenshot below.
Renaming image
Choose the previous image that you put in dataset1.
- Renaming the image by going to the left-hand panel.
Rename it as imageA
Choose another image from omero_training and rename that to imageA
As you can see, there are two images with the same name. OMERO does not treat names as unique.
Move data between groups
In OMERO, Users are organized in Groups.
The Groups allow a level of viewing and cooperation between
the members of the group which can be adjusted by changing
the permissions level on that group.
A User can be a member and have their data in one or more
Groups. Thus it is sometimes
necessary to move the data between groups.
This action can be done by the owners of the data themselves
or by an administrator or an administrator with restricted privileges.
Note that caution has to be taken in case the data are linked
to other users’ containers (Datasets, Projects).
If you move only the contents of those containers (Datasets or Images)
and not the containers themselves
(Projects or Datasets), the links between
such containers and the Images or Datasets
which are moved will be deleted.
Further, if any objects are moved,
the links to any annotations
such as Tags or attached File annotations
linked to these objects will be deleted in case these
annotations belong to others or in case these annotations belong
to you but are also linked to some other objects
in the original group which are not being moved.
If you want to retain a copy of your data in its current position, then you should Duplicate it. The Duplication also bypasses the unlinked annotations problem highlighted in the previous paragraph. Because the Duplicate feature creates new objects, which are not dependent on the originals, the relationships between these duplicates are then preserved even during a subsequent move to another group.
Contact Ken Ho if you want to duplicate your projects, datasets or images
Move data between groups: owners of data
If you are an owner of the data, you can move the data between the groups you are a member of.
In OMERO.web, select the data to be moved in the left-hand side tree.
Right-click and select
Move to Group....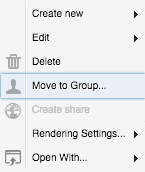
Select the group you want to move the data to.
A message
Checking which linked objects will be movedwill appear and a spinner to the left of it. Wait until the spinner vanishes and a list of objects to be moved and a list of objects which are not included in the move appears.
Check both lists. Please read the note above about which objects are typically not included and reconsider the
Moveaction. Thenot includedobjects will not be linked to theMovedobjects anymore if you go ahead with the move, the linkage will be lost.In case you are happy with the
Move``action to go ahead,
select a target Dataset or Project or create a new one and click ``OK
.
Righ-hand Pane
Select an Image. In the right-hand pane, metadata read by Bio-Formats and stored in a relational database is displayed:
Core metadata in the
Generaltab.Additional metadata in the
Acquisitiontab.All the metadata read by Bio-Formats can be downloaded at any time.
In the
Previewtab in the right-hand panel, you can also view the Image.For multi-plane Images, sliders allow you to move through Z or Time dimensions.
Viewing Images does not download the whole Image to the client. Only the viewed Image plane is rendered from the original Image file on the server and sent back to the OMERO.web client.
Renaming channels
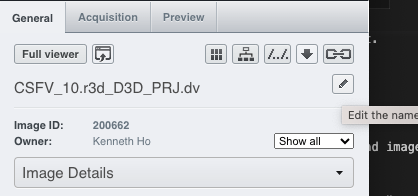
Choose an image and click at the
Generaltab on the right hand panel.Click on the pencil-like icon at the end of the row
Channels: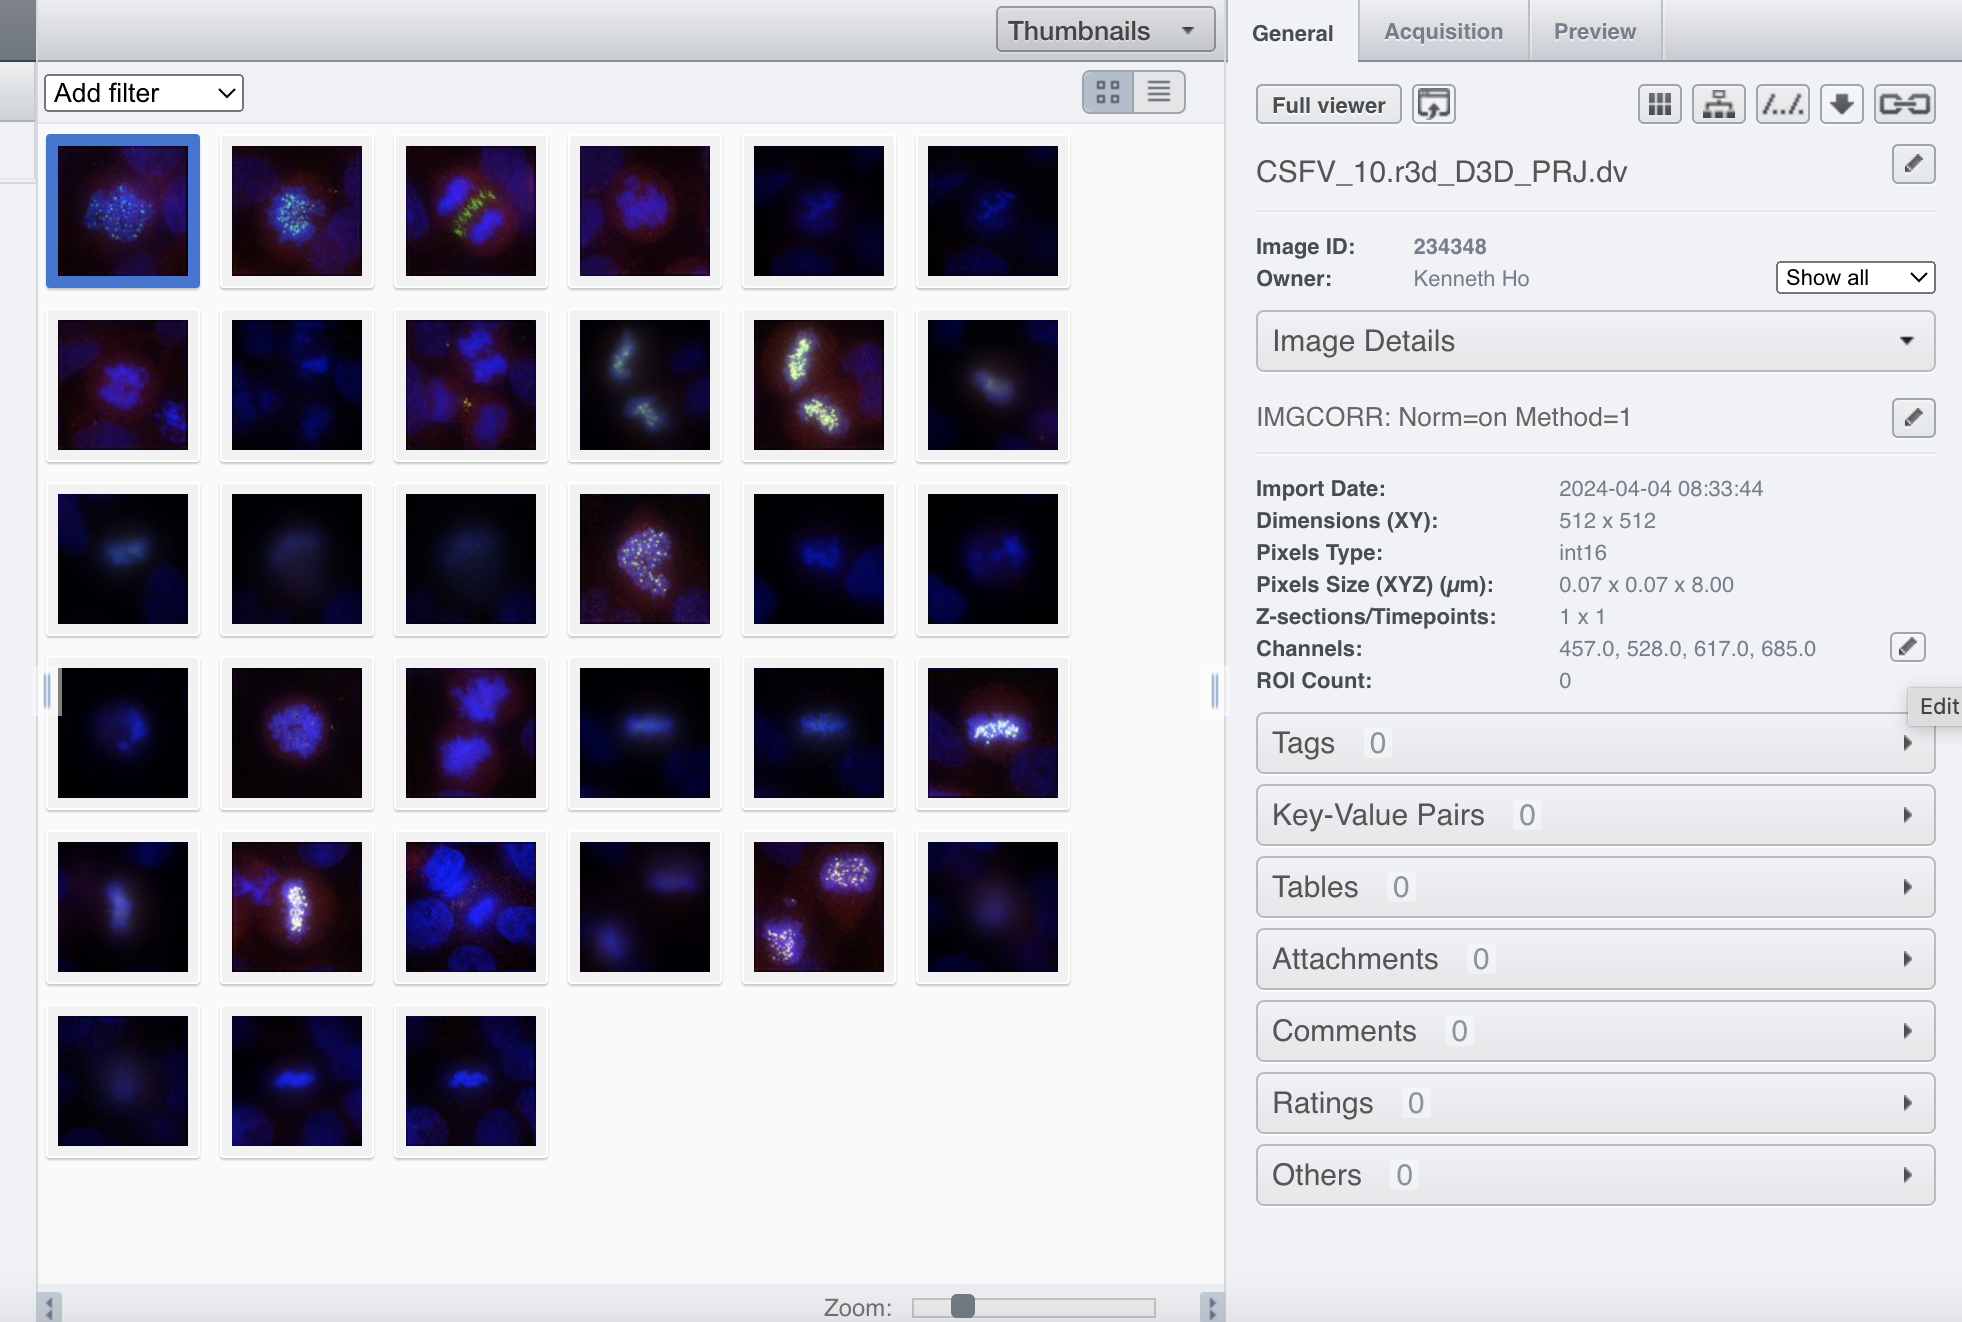
#. You will find a channel edit window open within the righthand panel.
# Select any image inside that Dataset and click on the pencil  icon in the right-hand pane next to Channels.
- Input “DAPI” instead of channel “457” and “GFP”, “Aurora-B” and “CY-6” for the other channels.
Click the
Apply to Allbuttonand confirm by clicking
Continue. This will change the channel names of all the images in that Dataset.
Preview rendering setting
Choose an image and click at the
Previewtab on the righ hand panel.You will see an image viewer on the right hand panel displaying your image and channel settings.
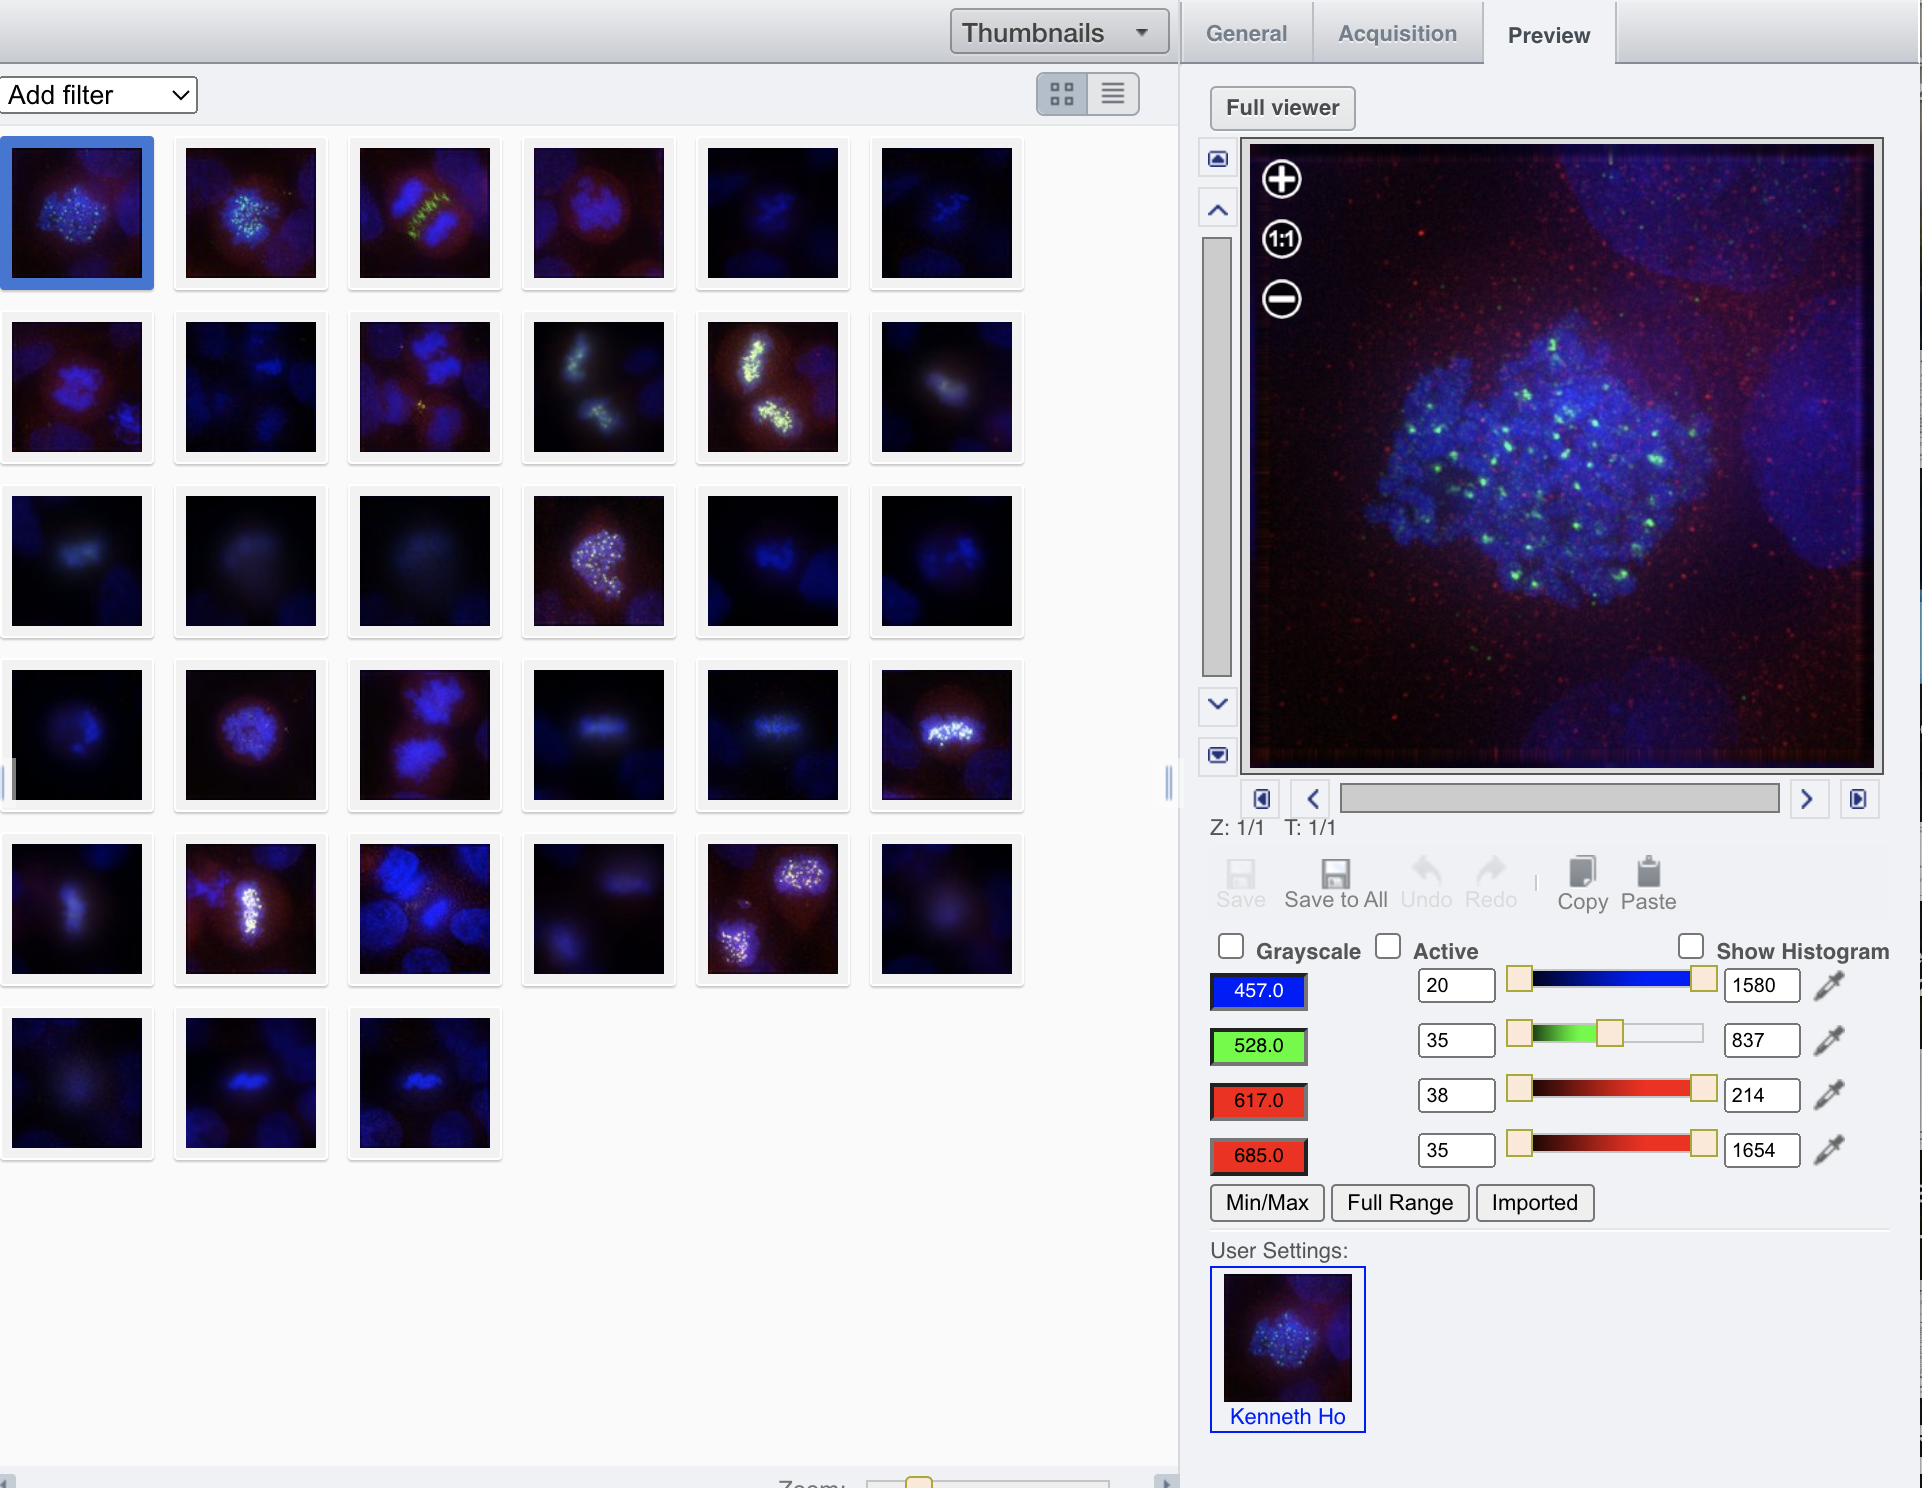
Adjust the channel and you can save the settings by clicking at the
Saveicon.Click on the
Show Histogramcheckbox, it will display a histogram of the 1st channel.You can click on other channel to display their historgrams.
You can undo the settings by clicking on the icon
undoThe rendering settings can be saved to the server. This never changes the original Image data and can be reverted at any time.
The rendering settings can also be copied and pasted between Images.
To modify the rendering settings in batch, click on the
Save to Allbutton to apply the same settings to, for example, all Images in a given Dataset.You can use the settings which other users saved on your Images and apply them for your own Image. These settings are highlighted as thumbnails in the lower part of the Preview pane.
You can adjust the rendering settings for each channel e.g. turn on/off the channels, adjust color settings, look-up tables, etc.
You can use the settings which other users saved on your Images and apply them for your own Image. These settings are highlighted as thumbnails in the lower part of the Preview pane.
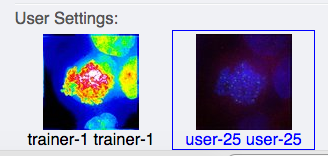
Your own settings are highlighted in blue.
You can revert to the original settings for an Image or Dataset. For example, using the context menu for a Dataset in the tree, select
Rendering Settings > Set Imported and Save.